Automate with AI (MCP)
Screeny for Mac ships with a built-in MCP (Model Context Protocol) server, a local-only web server that lets AI clients like Claude Code, Cursor, VS Code, and Codex drive Screeny directly.
Once connected, you can ask your agent things like:
- “Frame the screenshot on my Desktop in an iPhone 17 Pro with a gradient background”
- “Batch-render this folder of App Store screenshots with my ‘App Store’ preset”
- “Turn this screen recording into a mockup video with a zoom push-in at 2 seconds”
- “Make more like what I currently have open in the editor”
The most reliable way to get consistent results is to save a preset and ask for it by name. See Prompting Screeny.
Enable the server
- Open Screeny for Mac → Settings → Automation
- Turn on MCP Server
- A green dot appears with the server address, normally
http://127.0.0.1:9410/mcp. Click the row to copy it.
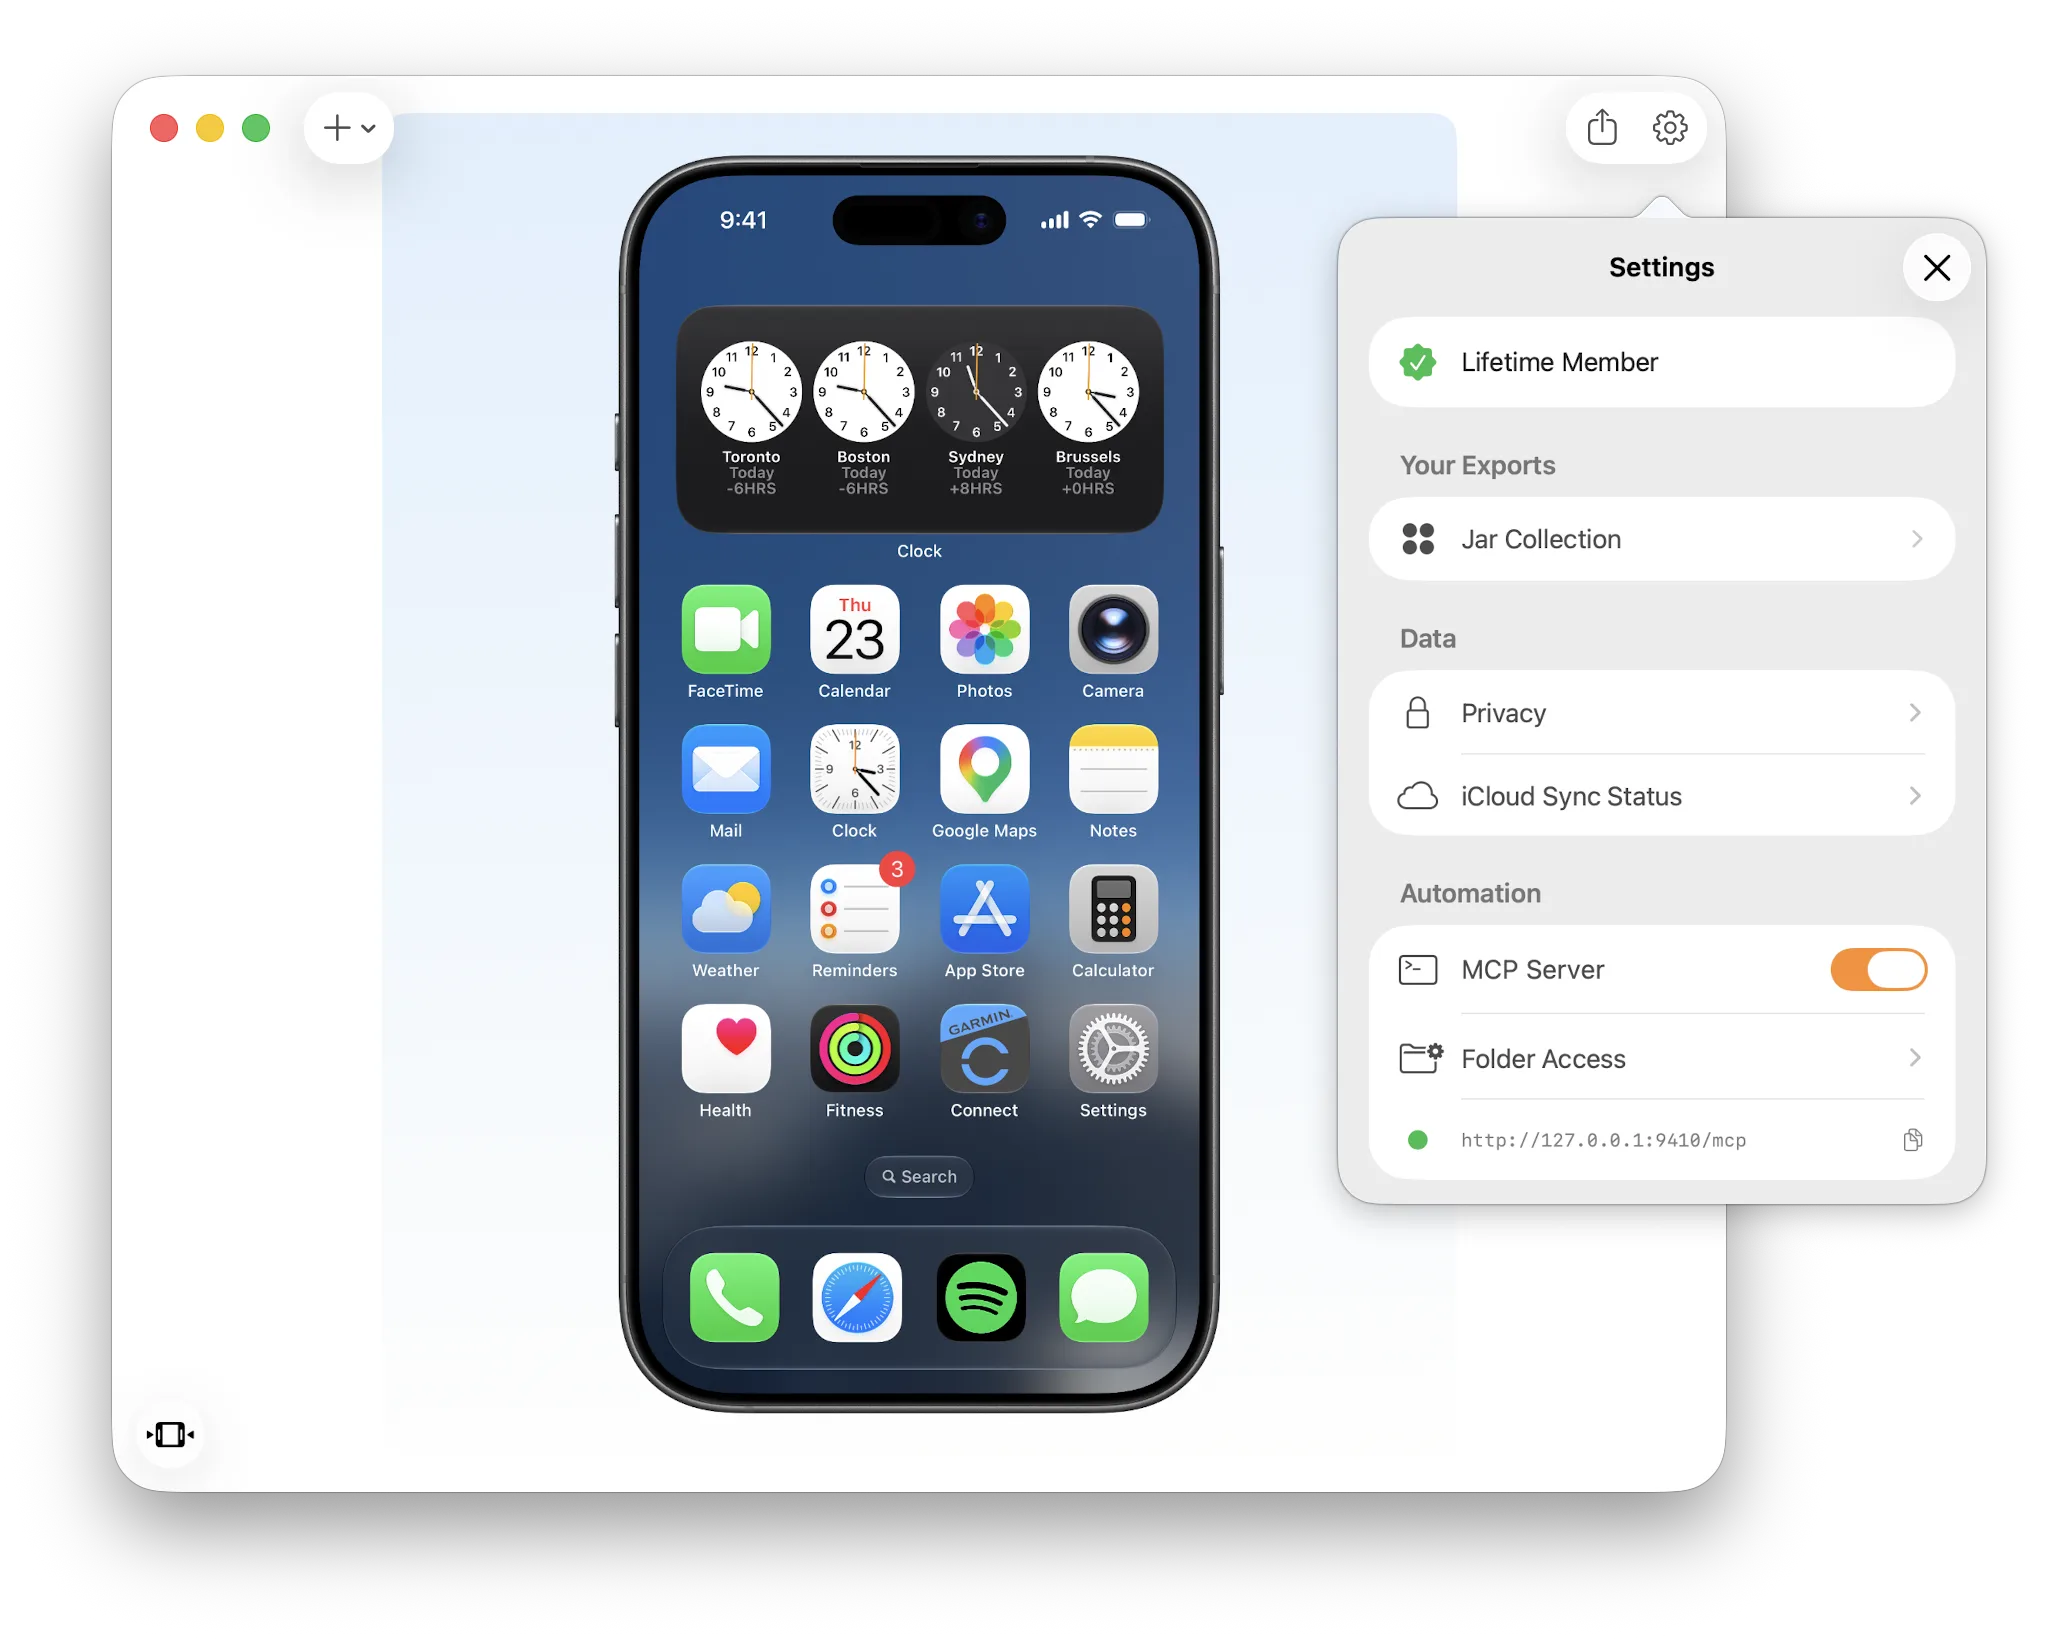
The default port is 9410, a nod to 9:41, the time on every Apple status bar. If it’s taken, Screeny picks the next free one (9411–9419), so check Settings for the actual URL.
Connect your client
Screeny must be running with the MCP server enabled.
Claude Code
claude mcp add --transport http screeny http://127.0.0.1:9410/mcpCursor: add to mcp.json (Cursor Settings → MCP → Add new global MCP server):
{
  "mcpServers": {
    "screeny": {
      "url": "http://127.0.0.1:9410/mcp",
      "type": "http"
    }
  }
}
VS Code: Command Palette → MCP: Add Server… → HTTP → paste the URL.
Codex: add to ~/.codex/config.toml:
[mcp_servers.screeny]
url = "http://127.0.0.1:9410/mcp"
What the agent can do
The server exposes six tools: list available devices, list your presets, read the current editor configuration, create image mockups (up to 10 per call), create video mockups with keyframe animations, and request folder access. For the full parameter tables, the device/color list, and troubleshooting, see the MCP Tools Reference. For writing the prompts themselves, see Prompting Screeny.
See it in action
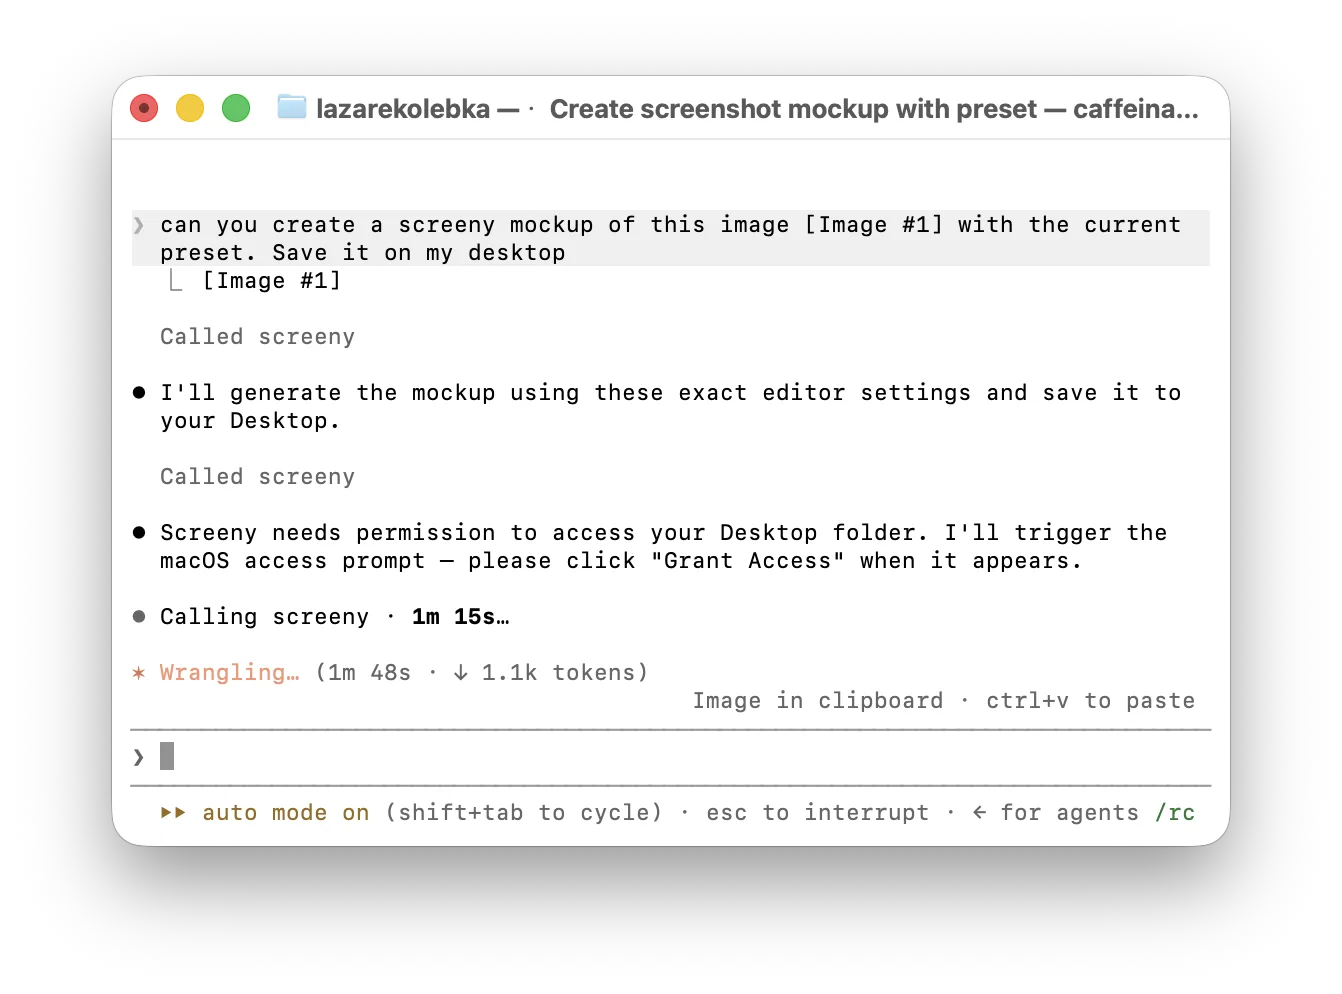
Here’s what a real request looks like end to end, in Claude Code.
1. Ask for a mockup. Just describe what you want, attach or point to the screenshot, and tell your agent where to save it:
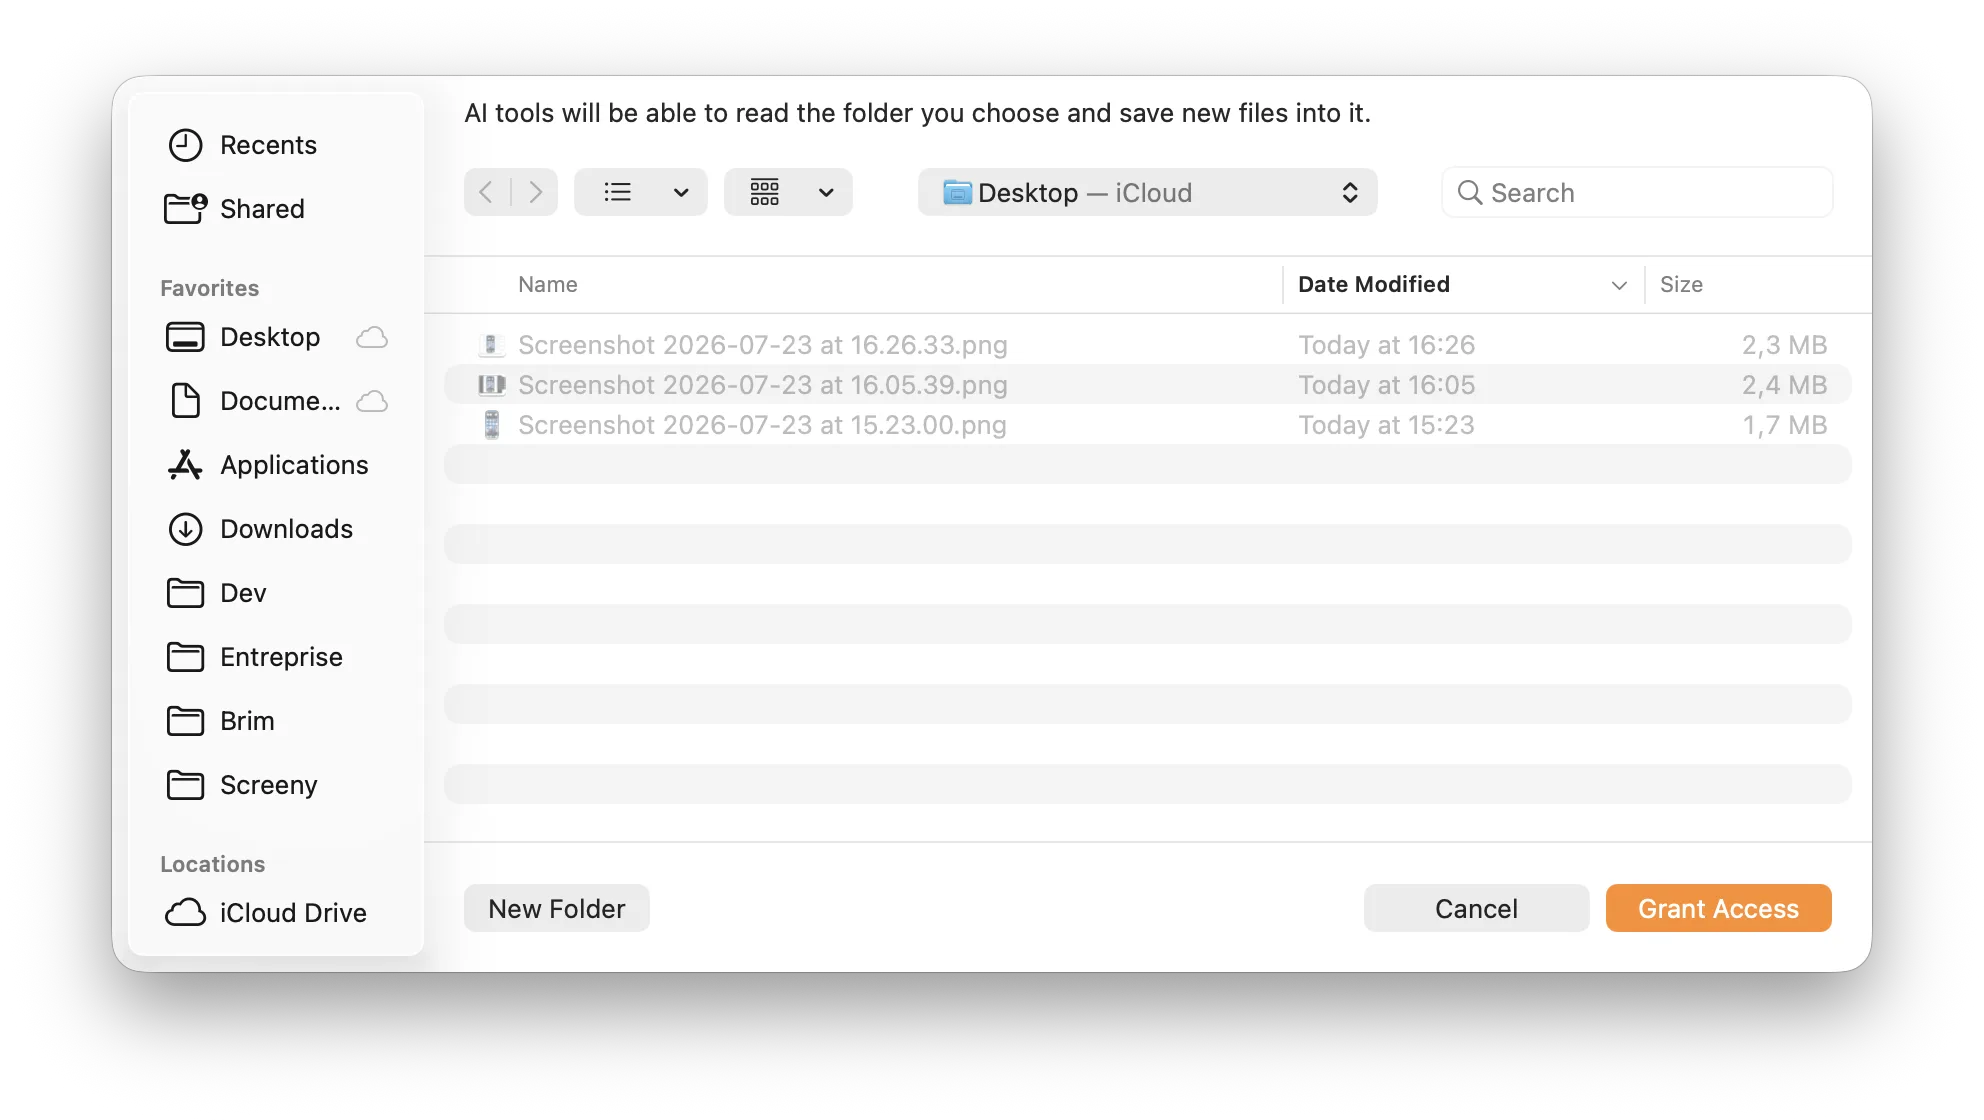
2. Grant the folder Screeny asks for. The first time an agent needs a folder it hasn’t been granted, macOS shows its native picker, pre-navigated to that folder: click Grant Access, pick a different folder, or cancel:
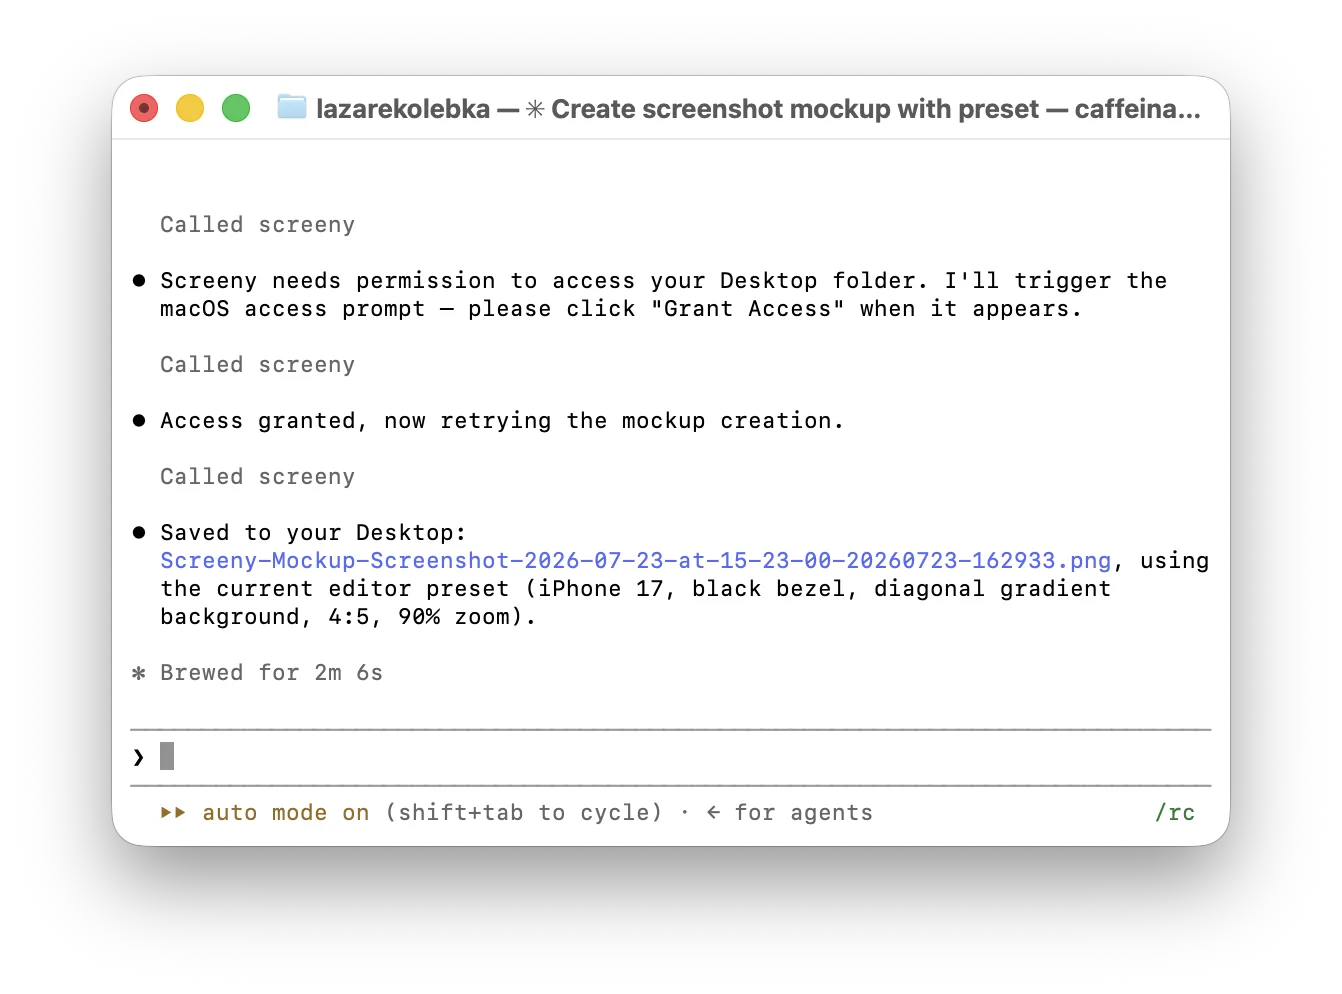
3. Done. The agent retries automatically and reports back with the saved file:
Folder access: your AI asks, you approve
Screeny is sandboxed. An agent can only reach folders you have explicitly approved. When it needs access, Screeny shows the native macOS folder picker and you decide, as above. Inside a granted folder, exports only ever create new files: Screeny never overwrites, modifies, or deletes anything.
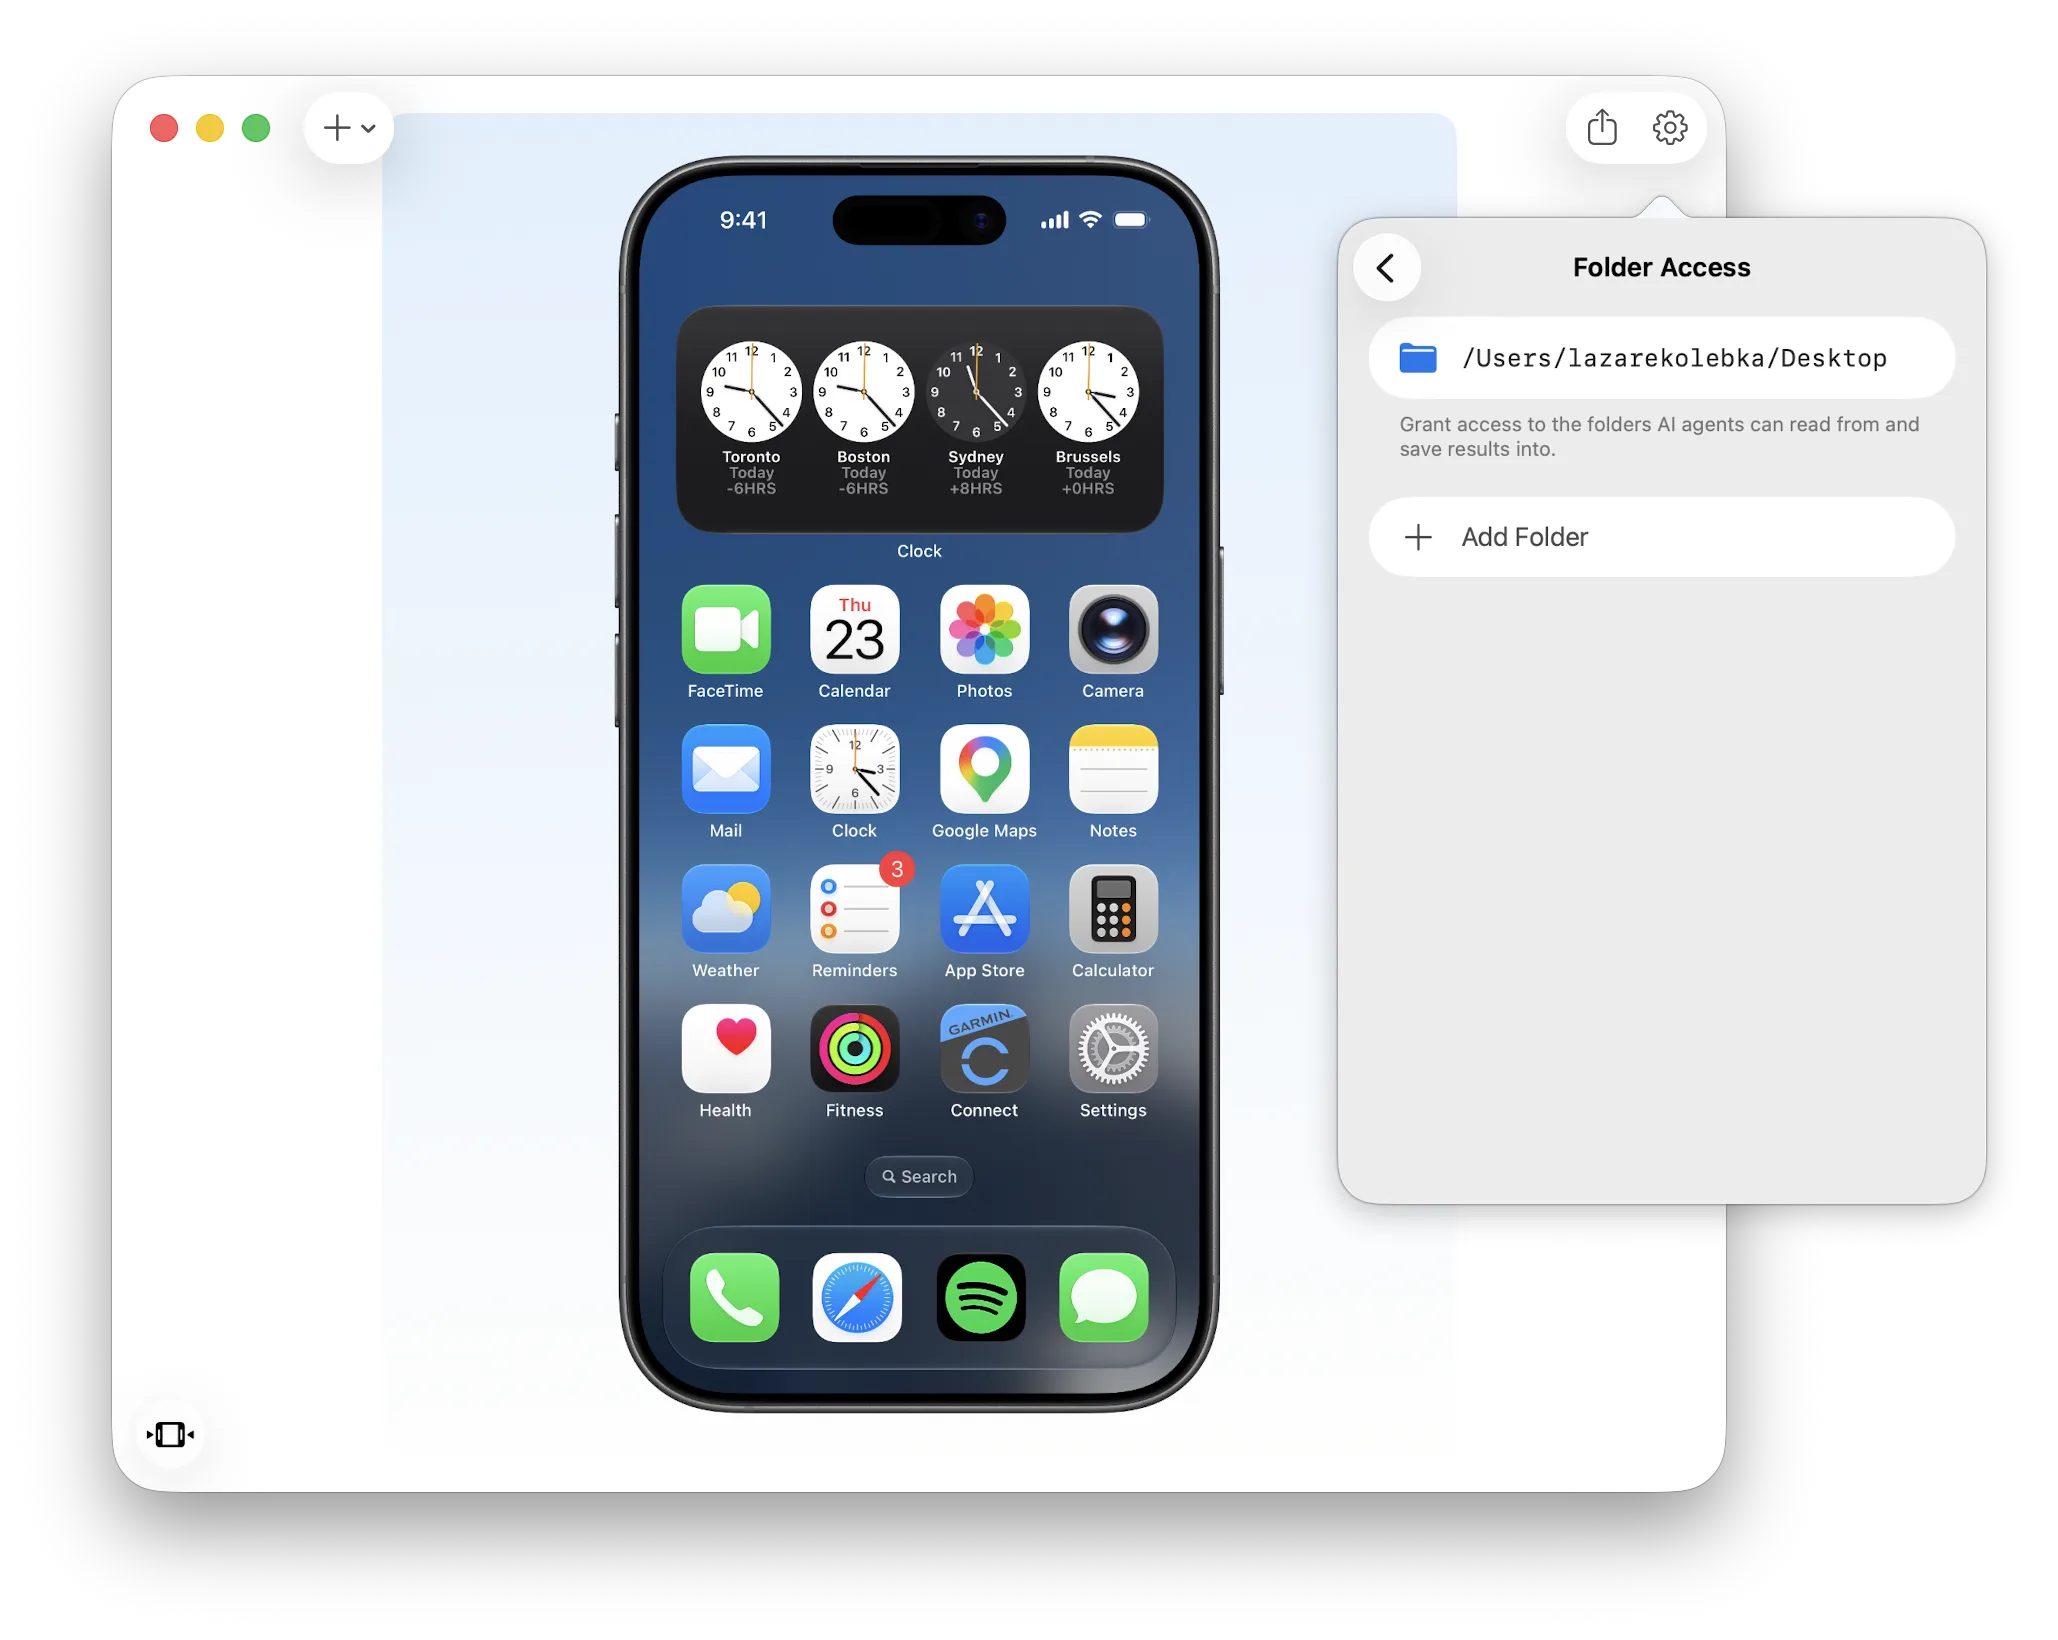
You can also grant folders ahead of time, without waiting for an agent to ask, go to Settings → Automation → Folder Access and tap Add Folder. Every granted folder is listed there and can be revoked at any time:
Everything renders locally on your Mac, the server only listens on 127.0.0.1, and MCP exports use the same credit system as the app (1 per image, 3 per video).